 | 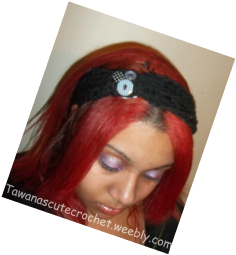 |
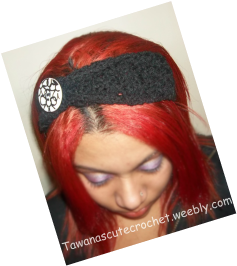
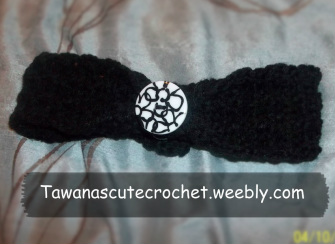
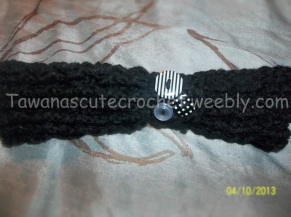
This is a very quick and easy headband that's very versatile. It is worked with FPDC and BPDC to create ridges on one side and a square almost checkered look on the other side. I added buttons on each side. It looks great without them as well. In my opinion, I like the buttons better because it's black and I like the pop of color.
This is the box like look(the back) This is the ridge look (front)
This is the box like look(the back) This is the ridge look (front)
 |  |
You can use any size hook you want. The smaller the hook the thinner the band.
First off, you need 2 measurements.
Measurement A= Around your head (where the head band will be)
Measurement B= measurement A-4in
Materials:
-Red heart super saver yarn in black
-Any size hook (i used h/8-5.00mm)
-Tapestry needle
Optional:
-Buttons
ch 4
step1: hdc in 3rd ch from hook and across
step2; ch 1 turn, hdc in nxt 2 *rep step 2 til piece measures 4.5in*
step3; ch 1 turn, inc twice
step4; ch 1 turn, inc, hdc nxt 2, inc
step5: ch 1 turn, inc, hdc nxt 4, inc
step6; ch 1 turn, inc, hdc nxt 6, inc
step7: ch 2 turn dc across
step8: ch 2 turn, dc *Fpdc nxt 2, dc* rep across
step9: ch 2 turn, dc *Bpdc nxt 2, dc* rep across
repeat steps 8 & 9 until this section equals measurement B
step10: ch 1 turn, hdc dec, hdc nxt 6, hdc dec
step11: ch 1 turn, dec, hdc nxt 4, dec
step12: ch 1 turn, dec, hdc nxt 2, dec
step13: ch 1 turn, dec x2
step14: ch 1 turn, hdc nxt 2 *rep 14 untli this piece measures 4.5in*
FO weave in ends
Ribbon piece:
step1: ch 10, hdc in 2nd ch from hook and across
step2: ch 1 turn, hdc across *rep as many times as you would like the width to be
sew onto headband ore towards one of the sides and attach buttons
That's it...as always, if you have any question contact me here or leave a comment below.
Happy Crocheting!!