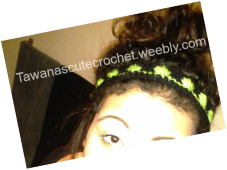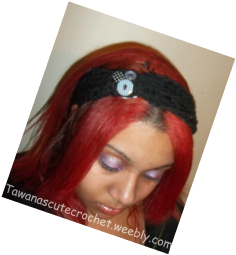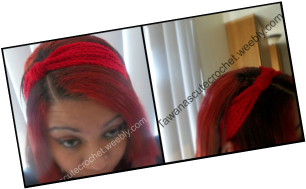
This headband ties in the back and is an adjustable pattern for any head size. It's also VERY easy and looks great for everyday wear!
|
This headband ties in the back and is an adjustable pattern for any head size. It's also VERY easy and looks great for everyday wear!
3 Comments
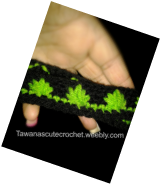
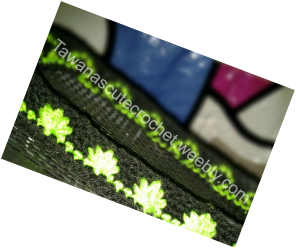 This is a fairly easy and quick pattern. The peace leaves are made with Spike Cluster Stitches (SPC). To learn this st go here for a wonderful vid tutorial from the Moogly Blog! This pattern was requested by a friend of mine named Courtney. I would like to thank her for the wonderful pictures she took for me to post here!!!
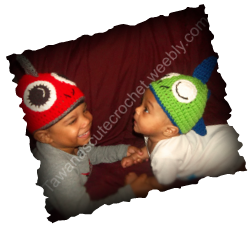
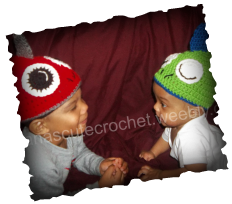
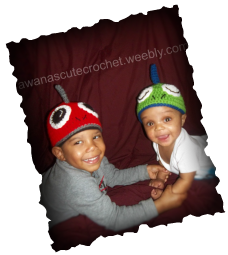 These hats range from size newborn (nb) to adult. I adjusted the pattern since I made these beanies, just to help sizes. I think they look absolutely adorable in their matching dino hats, & they loved wearing them as well!!
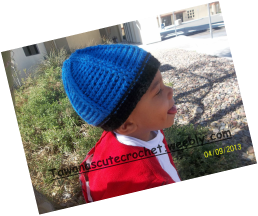
This is the basic pattern for a dc beanie for sizes nb-adult. I will refer back to this pattern for most, if not all, of my beanie patterns.
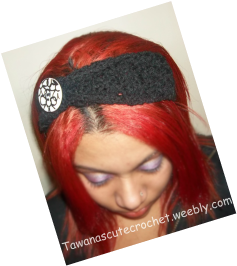
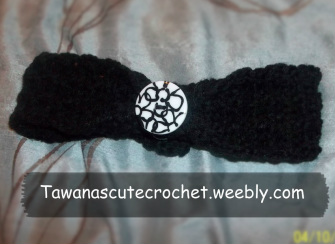
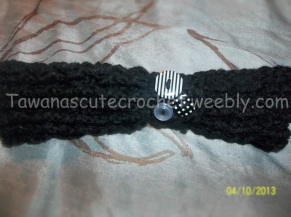
This is a very quick and easy headband that's very versatile. It is worked with FPDC and BPDC to create ridges on one side and a square almost checkered look on the other side. I added buttons on each side. It looks great without them as well. In my opinion, I like the buttons better because it's black and I like the pop of color. This is the box like look(the back) This is the ridge look (front)
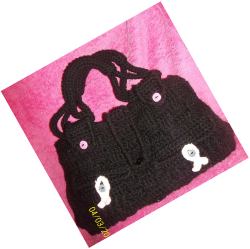
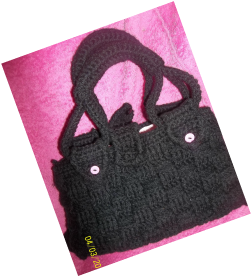
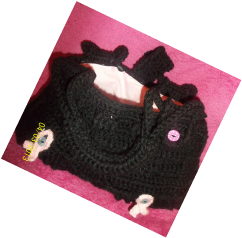
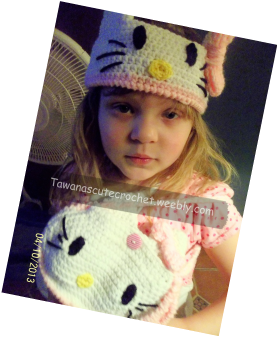 My little sister LOVES hello kitty with a passion. She looks so cute in hello kitty as well, so I decided to make her a cute little set! I made her a headband/ear warmer and a purse set.
Hello kitty headband is easily changed in size. This size is for a toddler - kid (she's about to be 5 in Aug. It fits her a little loose and it's stretchy). Let's get started!! I lost my grandmother to breast cancer in late 2010. It was a very traumatic thing for me and my family to get through. I support breast cancer 100% and always look for patterns that support it as well. When you search for breast cancer patterns you find a lot of cancer caps, scarves, beanies, and misc. pink objects. I really wanted something different. I thought about what I could make that I could use/wear a lot to show my support. This is what came to mind...
So Daimion has been asking me to make him a pokeball. I have been SUPER busy and kept forgetting......I finally remembered and went to work. If you don't know, a pokeball is a ball from Pokemon that contained the "creatures" called pokemon. You throw the ball the pokemon come out and fight.
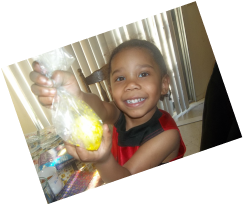
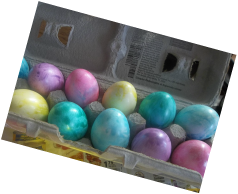
This pattern only took me about 2 hours, with writing down the pattern and everything. Let's get started. 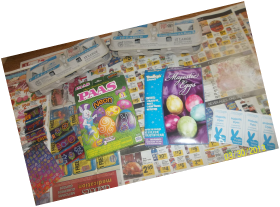 We started off Easter yesterday, on the 30th, with eggs. I went and got 2 different egg coloring kits. One was a neon kit that came with stickers and the other was a very pretty pearl effect kit. The majesty kit was very fun and came out gorgeous. All you had to do was put a dry egg in one of the bags the kit came with, add 4-6 drops of dye from the packets, and rub it all over the egg. Here's Quesy rubbing the egg Here's the results!
|

Hi!
I'm Tawana. I take requests and sell my finished projects. Please "like" my blog and check out my facebook page by clicking the "f" located at the top of every page.   Like TCC?? <3
Help me buy yarn. Archives
November 2017
Categories
All
|